

Last Updated on October 22, 2026 by D. Ruddy
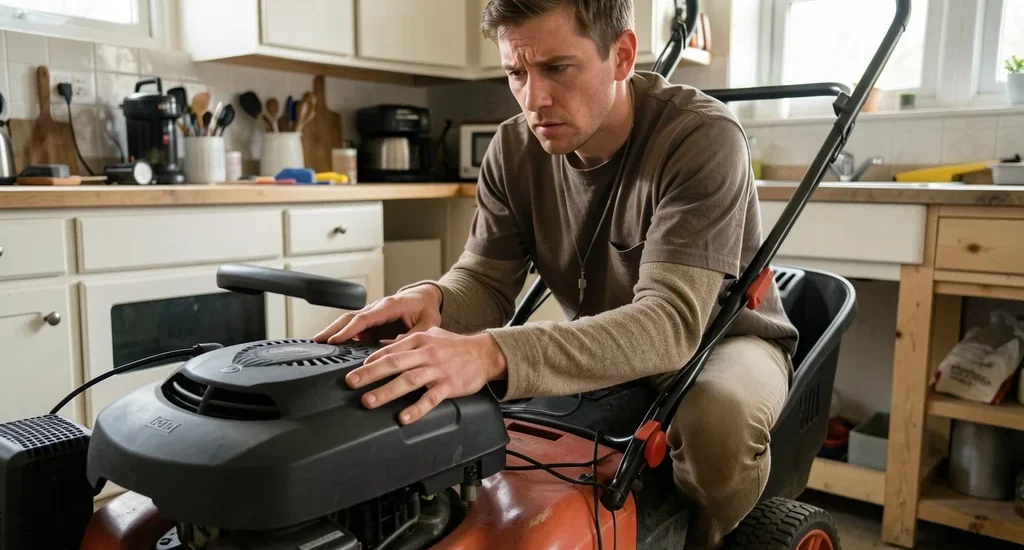
Nothing kills weekend plans faster than a lawn mower won’t start situation. Whether it’s a riding mower or a push model, starting problems can stem from simple fixes like a dead battery or more complex issues like a clogged carburetor. This guide walks you through the most common causes and how to diagnose them yourself before calling a pro.
Check the fuel level and battery first. Over 60% of no-start issues are resolved by fixing these two basics. If those are fine, inspect the spark plug, air filter, and carburetor next.
Check the Fuel System First
Old or contaminated fuel is a top reason your lawn mower won’t start. Gasoline degrades over time, especially ethanol-blended fuels that attract moisture and leave gummy deposits. Always use fresh fuel no older than 30 days for best results.
If your mower sat unused for months with fuel in the tank, drain the old gas completely. Add a fuel stabilizer if you plan to store it for more than a week. This prevents varnish buildup in the carburetor that can clog jets and prevent starting.
- Empty the tank if fuel is stale or smells sour
- Use the right octane (87 is standard for most mowers)
- Avoid ethanol blends above 10% if your mower is older
- Clean the fuel filter if your mower has one
- Check fuel lines for cracks or blockages
- Prime the engine 3-5 times if it has a primer bulb
- Ensure the fuel valve is open if your model has one
Tip: If your mower starts with starting fluid but dies, it confirms a fuel delivery problem. The carburetor likely needs cleaning.
Inspect the Battery and Electrical System
For electric start mowers and riding models, a weak or dead battery is a common culprit. Most lawn mower batteries last 3-5 years, but they can die sooner if left discharged or not maintained properly. Corrosion on terminals can also prevent proper electrical contact.
Use a multimeter to test battery voltage. A fully charged 12V battery should read 12.6-12.8 volts. If it reads below 12.4V, charge it fully.
If it won’t hold a charge or reads below 10V, it’s time for a replacement. Clean corrosion from terminals with a baking soda and water mixture.
| Battery Issue | Symptoms | Solution |
|---|---|---|
| Dead Battery | No response when turning key, dim lights | Charge or replace battery |
| Low Charge | Slow cranking, weak start | Charge battery fully |
| Corroded Terminals | Clicking but no start, intermittent power | Clean terminals, apply dielectric grease |
| Bad Solenoid | Clicking sound but no engine turn | Test with multimeter, replace if faulty |
| Blown Fuse | No power to any electrical components | Locate and replace fuse |
If your battery tests good but the mower still won’t start, check the safety switches. Most riding mowers have a seat switch, brake switch, and blade engagement switch that must all be activated for the engine to crank.
Examine the Spark Plug
A fouled or damaged spark plug is one of the most common reasons a lawn mower won’t start. The spark plug ignites the fuel-air mixture in the combustion chamber. If it’s dirty, worn out, or has the wrong gap, your mower may crank but never fire up.
Remove the spark plug with a socket wrench and inspect it. A healthy plug should have a light tan or gray color on the electrode. If it’s black and sooty, it’s running too rich.
If it’s white or ashy, it’s running too lean. In either case, replace it. Also check the gap with a feeler gauge—most small engines require 0.030 inches.
- Disconnect the spark plug wire before removing to prevent accidental starts
- Use a spark plug socket (usually 13/16″ or 3/4″ for most mowers)
- Inspect the electrode for damage, wear, or heavy carbon buildup
- Check the gap with a feeler gauge and adjust if needed
- Clean with a wire brush if only slightly dirty, otherwise replace
- Reinstall and tighten to manufacturer’s torque specs (usually 15-20 ft-lbs)
- Test for spark by grounding the plug to the engine and pulling the start cord
Warning: Never test for spark without grounding the plug properly. This can cause electrical shock or damage to the ignition system.
Clean or Replace the Air Filter
A clogged air filter restricts airflow to the engine, making it hard to start or causing it to run poorly. Paper filters can become clogged with dust and debris, while foam filters can get saturated with oil and dirt. Most manufacturers recommend checking the air filter every 25 hours of operation or at least once per season.
If your mower won’t start and you notice black smoke from the exhaust when it does run, a dirty air filter is likely the issue. The engine is running too rich because it’s not getting enough air. Cleaning or replacing the filter is a quick and inexpensive fix that can restore proper operation.
| Filter Type | Cleaning Method | Replacement Frequency |
|---|---|---|
| Paper | Tap out debris, use compressed air, replace if torn | Every season or 100 hours |
| Foam | Wash in soapy water, rinse, dry, re-oil | Every 25 hours or when dirty |
| Dual Element | Clean outer foam, replace inner paper | Outer: 25 hrs, Inner: 100 hrs |
To access the air filter, you’ll typically need to remove the air filter cover, which is usually held on by clips or screws. Some models have a pre-cleaner that should also be checked and cleaned. Always consult your owner’s manual for the exact location and type of filter your mower uses.
Test the Carburetor for Clogs
The carburetor mixes air and fuel in the right proportions for combustion. Over time, old fuel can leave varnish deposits that clog the small jets and passages. This is especially common in mowers that sit unused for extended periods with fuel in the system.
If your lawn mower won’t start even after checking fuel, spark, and air, the carburetor is likely the culprit. Cleaning it often solves the problem. You’ll need to remove it from the engine, disassemble it carefully, and clean all the small parts with carburetor cleaner and compressed air.
Pay special attention to the main jet, pilot jet, and float valve.
- Drain old fuel from the carburetor bowl before removal
- Remove the carburetor by disconnecting the fuel line and throttle linkage
- Disassemble carefully and keep track of all small parts and springs
- Soak metal parts in carburetor cleaner for 15-30 minutes
- Use compressed air to blow out all passages and jets
- Check the float for damage and ensure it moves freely
- Reassemble with new gaskets and reconnect all linkages
- Adjust the idle mixture screw if your carburetor has one
Important: If you’re not comfortable working with small engine carburetors, this might be a job for a professional. The small parts can be easily lost or damaged, and improper reassembly can cause more problems.
Check the Safety and Control Systems
Modern lawn mowers have several safety features that prevent starting if certain conditions aren’t met. These include the seat switch on riding mowers, the brake or clutch switch, and the blade engagement switch. If any of these switches are faulty or not activated, your mower won’t start.
For push mowers, check that the bail handle or dead man’s switch is working properly. If this switch is broken, the engine won’t start even if everything else is in working order. These switches are designed to stop the engine if you let go of the handle, but they can sometimes fail and prevent starting altogether.
- Seat switch – Must be depressed (someone in the seat) for riding mowers to start
- Brake switch – Must be engaged (brake pedal pressed) on most riding mowers
- Blade engagement – Must be disengaged (in neutral) to start
- Clutch switch – Must be properly engaged
- Bail handle – Must be held down on push mowers
- Dead man’s switch – Must be functional and connected
| Safety Feature | How to Test | Common Fixes |
|---|---|---|
| Seat Switch | Bypass switch with jumper wire | Replace switch, check wiring |
| Brake Switch | Check continuity with multimeter | Adjust switch, replace if faulty |
| Blade Engagement | Try starting in neutral | Check linkage, replace switch |
| Bail Handle | Check for continuity when pressed | Replace handle or switch |
If you suspect a safety switch is the problem, you can often bypass it temporarily for testing purposes. However, for safety reasons, you should never operate the mower with a bypassed switch. Replace any faulty switches as soon as possible.
Inspect the Flywheel and Flywheel Key
The flywheel is a critical component that helps start your engine and maintains smooth operation. It’s connected to the crankshaft and has magnets that work with the ignition system. If the flywheel key (a small metal piece that aligns the flywheel with the crankshaft) is sheared, your mower won’t start or will start and die immediately.
A sheared flywheel key is often caused by hitting a solid object with the mower blade, like a rock or stump. This sudden stop can break the key, which is designed to be a weak point to protect more expensive engine components. If you suspect this is the issue, you’ll need to remove the flywheel to inspect and replace the key.
- Signs of a sheared key: Mower starts but dies immediately, or makes a loud knocking noise
- Access the flywheel by removing the recoil starter or engine shroud
- Inspect the key between the flywheel and crankshaft for damage
- Check for alignment – the flywheel should sit flush against the crankshaft
- Replace with the same size key – they come in different sizes for different engines
- Use a flywheel puller to remove the flywheel without damaging it
- Apply thread locker to the new key to prevent it from coming loose
Warning: Never use a hammer to remove the flywheel. This can damage the flywheel or crankshaft. Always use the proper puller tool for your engine model.
Common Mistakes to Avoid
When troubleshooting a lawn mower that won’t start, it’s easy to make mistakes that can waste time or even cause more damage. Being aware of these common pitfalls can help you diagnose the problem more efficiently and avoid unnecessary repairs.
One of the most common mistakes is overlooking the simple things. Many people jump straight to complex diagnostics when the problem is something as simple as an empty fuel tank or a disconnected spark plug wire. Always start with the basics and work your way up to more complex issues.
- Skipping the obvious – Always check fuel, oil, battery, and spark plug first
- Using old gasoline – Fuel older than 30 days can cause starting issues
- Over-tightening parts – This can cause damage, especially to the spark plug or carburetor
- Ignoring safety switches – These can prevent starting if they’re faulty
- Not disconnecting the spark plug before working on the mower can lead to accidental starts
- Using the wrong oil – Always use the oil type and weight recommended by the manufacturer
- Forgetting to check the dipstick – Low oil can trigger a safety switch that prevents starting
Another common mistake is misdiagnosing the problem. For example, if your mower cranks but doesn’t start, it’s usually a fuel or spark issue. If it doesn’t crank at all, it’s likely a battery or electrical problem.
Understanding these basic symptoms can help you narrow down the possible causes more quickly.
Frequently Asked Questions
Why does my lawn mower turn over but not start?
If your mower cranks but doesn’t start, it’s usually due to a lack of fuel, air, or spark. Check the fuel level and quality first, then inspect the spark plug for damage or fouling. If those are good, the carburetor might be clogged or the air filter might be dirty, preventing the proper air-fuel mixture.
How often should I replace the spark plug in my lawn mower?
Most lawn mower manufacturers recommend replacing the spark plug every season or after 25-50 hours of use. However, if you notice performance issues like hard starting, rough running, or excessive fuel consumption, it’s a good idea to check and potentially replace the spark plug sooner.
Can a dirty air filter prevent my lawn mower from starting?
Yes, a clogged air filter can prevent your lawn mower from starting. The engine needs a precise mixture of air and fuel to start and run properly. If the air filter is dirty, it restricts airflow, making the mixture too rich.
This can cause the engine to flood or not start at all.
What should I do if my lawn mower starts but then dies?
If your mower starts but then dies, it could be due to several issues. Common causes include a clogged carburetor, a dirty air filter, a faulty spark plug, or a problem with the fuel system. It could also be a sheared flywheel key or an issue with the safety switches.
Check these components one by one to identify the problem.
Is it safe to use starting fluid on my lawn mower?
Starting fluid can be used as a temporary solution to help start a stubborn engine, but it should be used sparingly. Too much starting fluid can cause engine damage. Also, if your mower starts with starting fluid but then dies, it indicates a fuel delivery problem that needs to be addressed, usually a clogged carburetor.
Final Thoughts
When your lawn mower won’t start, don’t panic. Most issues are simple and can be fixed with basic tools and a little knowledge. Start with the easiest checks—fuel, battery, spark plug—and work your way to more complex components like the carburetor and flywheel.
Regular maintenance, including changing the oil, replacing the spark plug, and cleaning the air filter, can prevent many starting problems before they occur. With a systematic approach, you’ll have your mower running smoothly and your lawn looking great in no time.








