I used to throw fertilizer by hand. Grab a handful. Toss it around. Hope for the best. My lawn looked like a patchwork quilt. Dark green stripes where I threw too much. Pale yellow spots where I missed completely.
Applying granular fertilizer the right way is not hard. But there are a few steps most people skip. Those skipped steps are why lawns end up striped or burned.
Here is exactly how I apply granular fertilizer now. Step by step. No special skills needed.
What You Need Before You Start
You need three things. A fertilizer spreader. The right fertilizer for the season. And a way to measure your lawn.
For the spreader, a broadcast spreader works best for most lawns. It throws fertilizer in a wide arc. Faster than a drop spreader and harder to mess up.
For measuring, use Google Maps to trace your lawn. Right-click and select “Measure distance.” Draw around your yard. It gives you square footage. Or walk your yard with a measuring wheel. Knowing your exact square footage is important. The bag tells you how much to apply per 1,000 square feet. If you do not know your lawn size, you are guessing.
September Outdoor Sale — Save Up to 52%
A new month means new ways to upgrade your patio, garden & lawn for less. We’ve rounded up popular outdoor picks with savings up to 52%. Don’t wait—these offers can change anytime!
Step 1: Read the Bag (Seriously)
Every fertilizer bag has a spreader setting chart on the back. It tells you which setting to use for popular spreader brands like Scotts and Earthway. Find your spreader model. Use that setting.
The bag also tells you the application rate. Something like “3.2 pounds per 1,000 square feet.” Write that down. Do the math for your lawn size. My lawn is 6,000 square feet, so I need 6 x 3.2 = 19.2 pounds per application.
Set your spreader to the recommended setting. Fill it on the driveway or a tarp. Never fill it on the grass. Spills on grass will burn it.
Step 2: Mow Before You Fertilize
Mow your lawn one or two days before fertilizing. Slightly shorter than usual. This helps the fertilizer granules reach the soil instead of getting trapped in long grass blades.
Do not mow right after fertilizing. Wait at least two days. You want the fertilizer to sit on the soil and start breaking down. Mowing too soon kicks the granules around.
Step 3: Apply in a Crisscross Pattern
This is the step most people skip. They walk back and forth in straight lines and call it done. That leaves stripes.
September Outdoor Sale — Save Up to 52%
A new month means new ways to upgrade your patio, garden & lawn for less. We’ve rounded up popular outdoor picks with savings up to 52%. Don’t wait—these offers can change anytime!
I apply half the fertilizer walking north to south. Then I apply the other half walking east to west. A crisscross pattern. This gives even coverage with no gaps or overlaps.
Set your spreader to half the recommended rate. Make two passes instead of one. Yes, it takes twice as long. But your lawn will be evenly green instead of striped. Worth it.
Start the spreader moving before you open the hopper. Close the hopper before you stop walking. This prevents piles of fertilizer at the start and end of each row.
Step 4: Edge Carefully
Fertilizer on the driveway, sidewalk, or street will wash into storm drains. That pollutes water. It is also a waste of money.
Use a drop spreader or hand spreader for the edges. Or walk carefully with your broadcast spreader and shut off the hopper when you turn near hard surfaces. Sweep up any fertilizer that lands on pavement.
Step 5: Water It In
Granular fertilizer needs water to start working. Water your lawn within 24 hours of application. About half an inch of water is perfect. Enough to dissolve the granules but not so much that it washes them away.
September Outdoor Sale — Save Up to 52%
A new month means new ways to upgrade your patio, garden & lawn for less. We’ve rounded up popular outdoor picks with savings up to 52%. Don’t wait—these offers can change anytime!
If rain is in the forecast within 24 hours, you can skip watering. But do not apply fertilizer right before a heavy storm. Heavy rain washes fertilizer into drains before it can soak in.
For organic fertilizers like Milorganite, water immediately. Organic granules need moisture for microbes to start breaking them down.
Common Spreader Settings for Popular Fertilizers
| Fertilizer | Scotts Spreader | Earthway Spreader |
|---|---|---|
| Scotts Turf Builder 32-0-4 | 3.5 to 4 | 14 to 16 |
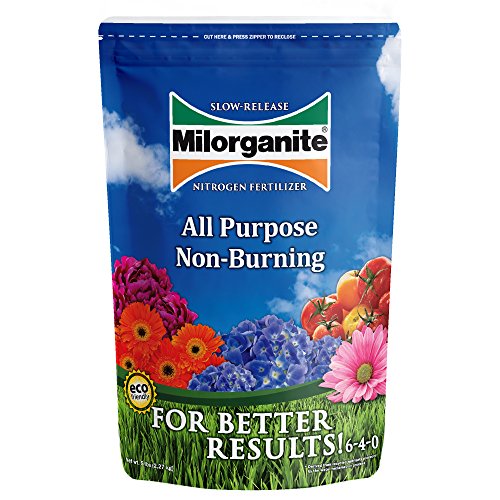
| Milorganite 6-4-0 | 4.5 to 5 | 16 to 18 |
| Scotts WinterGuard 32-0-10 | 3.5 to 4 | 14 to 16 |
Mistakes I Made So You Do Not Have To
Filling the spreader on grass. I spilled a pile of fertilizer once. That spot burned dead within a week. Now I always fill on the driveway.
Not calibrating the spreader. I trusted the bag setting once without testing. It was putting down twice what I needed. Stripes everywhere. Now I test on a small area first.
Applying to wet grass. Granules stick to wet grass blades instead of falling to the soil. The grass burns where the granules sit. Apply to dry grass. Water after.
Fertilizing before a heat wave. Synthetic fertilizer plus 95-degree heat equals fried grass. Check the weather. If a heat wave is coming, wait.
September Outdoor Sale — Save Up to 52%
A new month means new ways to upgrade your patio, garden & lawn for less. We’ve rounded up popular outdoor picks with savings up to 52%. Don’t wait—these offers can change anytime!
Frequently Asked Questions
Should I water before or after applying granular fertilizer?
Water after applying granular fertilizer. Apply to dry grass so granules fall to the soil. Then water within 24 hours to dissolve the granules and move nutrients into the root zone.
How long does granular fertilizer take to work?
Synthetic granular fertilizer shows results in 3 to 7 days. Organic granular fertilizer takes 2 to 4 weeks because microbes must break down the organic material first.
Can I apply granular fertilizer by hand?
You can for very small lawns under 500 square feet. For anything larger, use a spreader. Hand spreading always results in uneven coverage. Some spots get too much. Others get nothing.
What happens if it rains right after I fertilize?
Light rain after fertilizing is fine. It helps dissolve the granules. Heavy rain within a few hours can wash fertilizer away before it soaks in. If a storm is coming, wait to fertilize.

September Outdoor Sale — Save Up to 52%
A new month means new ways to upgrade your patio, garden & lawn for less. We’ve rounded up popular outdoor picks with savings up to 52%. Don’t wait—these offers can change anytime!