Last Updated on October 23, 2026 by D. Ruddy
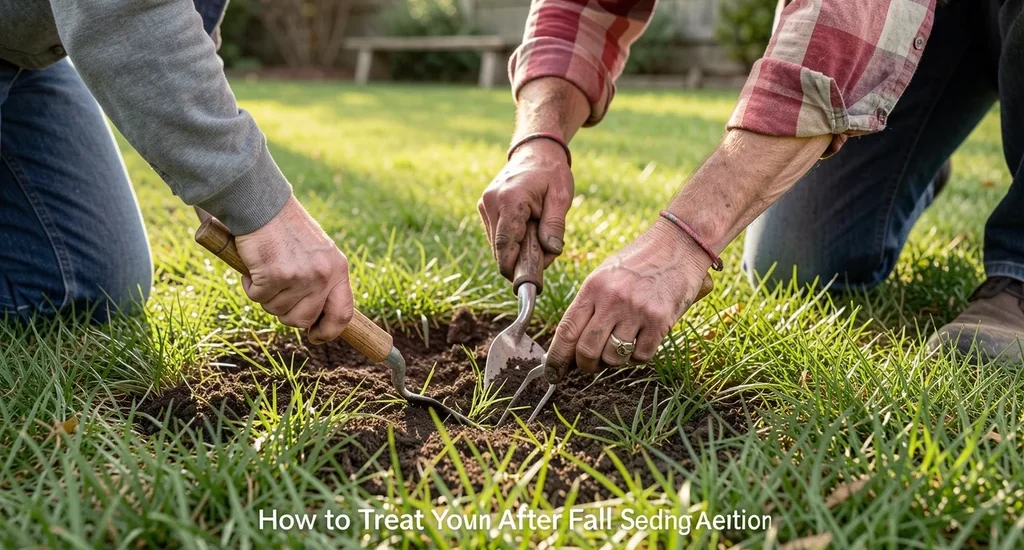
Fall is the ideal time to seed and aerate your lawn, giving it a head start for lush growth next spring. Knowing how to treat your lawn after fall seeding and aeration ensures your efforts pay off with thicker, greener grass. Proper post-care helps seeds germinate, reduces competition from weeds, and strengthens roots before winter.
Water the lawn lightly daily for the first 2-3 weeks to keep soil moist but not soggy. Reduce frequency as seeds germinate. Avoid heavy foot traffic for 4-6 weeks and mow only when grass reaches 3-4 inches.
What You Need for Post-Aeration and Seeding Care
Before diving into the process, gather the essential tools and materials. Having everything ready ensures you won’t miss critical steps in caring for your lawn.
Start with a high-quality lawn roller to press seeds into the soil for better contact. A broadcast spreader helps evenly distribute fertilizer or topsoil. A garden hose with an adjustable nozzle is crucial for precise watering.
Additionally, keep a rake handy to level any uneven areas and remove debris. Organic compost or peat moss can improve soil quality, especially if your lawn has poor drainage or compacted areas.
- Lawn Roller: Presses seeds into soil for optimal germination
- Broadcast Spreader: Ensures even distribution of fertilizer or seed
- Adjustable Garden Hose: Allows controlled watering without over-saturating
- Rake: Levels soil and removes debris
- Organic Compost: Enhances soil structure and nutrient content
- pH Testing Kit: Checks soil pH to ensure it’s between 6.0-7.5 for most grasses
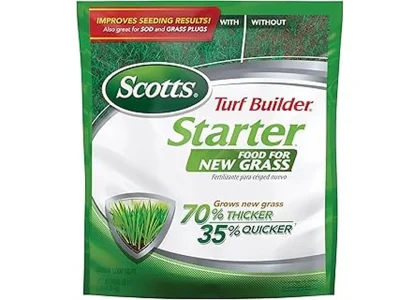
- Starter Fertilizer: Provides essential nutrients for new seedlings
Tip: Use a starter fertilizer with a high phosphorus content (the middle number in NPK ratio) to promote root development in new seedlings.
Step-by-Step Process for Treating Your Lawn After Aeration and Seeding
Following a structured approach ensures your lawn recovers quickly and establishes strong roots. Here’s a detailed, step-by-step guide to treating your lawn after fall seeding and aeration.
Step 1: Water Immediately After Seeding
Watering right after seeding is critical to activate the germination process. Use a gentle spray to avoid washing away seeds or creating puddles. The goal is to keep the top inch of soil consistently moist but not waterlogged.
Avoid heavy watering, which can displace seeds or cause runoff. Early morning watering is ideal as it reduces evaporation and prevents fungal growth. According to the University of Nebraska-Lincoln Extension, seeds typically germinate within 7-21 days, depending on grass type and conditions.
Step 2: Maintain Consistent Moisture
For the first 2-3 weeks, water your lawn lightly every day. This keeps the soil moist and supports seed germination. After germination, gradually reduce watering to every other day, then to a deeper, less frequent schedule.
Monitor the soil moisture by checking the top inch of soil. If it feels dry, it’s time to water. Overwatering can suffocate seeds and lead to disease, so balance is key.
- Water lightly in the morning (6-8 AM)
- Keep soil moist but not soggy
- Check soil moisture daily with your finger
- Reduce frequency as grass grows taller
- Switch to deep watering (1 inch per week) after establishment
Step 3: Apply Starter Fertilizer
Starter fertilizer provides essential nutrients like phosphorus to support root development. Apply it within 3 days of seeding using a broadcast spreader for even coverage. Follow the manufacturer’s recommended rates to avoid over-fertilizing.
A slow-release nitrogen fertilizer is ideal as it feeds the lawn gradually. Avoid high-nitrogen fertilizers, which can burn young grass. According to Penn State Extension, a balanced starter fertilizer (e.g., 10-10-10 or 12-12-12) works well for most lawns.
| Fertilizer Type | NPK Ratio | Best For |
|---|---|---|
| Starter Fertilizer | 10-10-10 or 12-12-12 | New seedlings, root development |
| Slow-Release Nitrogen | 20-5-5 or 24-4-6 | Established lawns, gradual feeding |
| Organic Compost | Varies (e.g., 2-1-1) | Soil improvement, organic option |
Starter fertilizers are specifically formulated to support new grass growth, while slow-release options are better for established lawns.
Step 4: Protect New Grass from Traffic
Avoid walking on or mowing the lawn for at least 4-6 weeks after seeding. Foot traffic can dislodge seeds or damage tender new shoots. If you must walk on the lawn, do so minimally and stick to pathways.
Keep pets and children off the lawn during this critical period. Use temporary barriers or signs to remind family members and guests to stay off the grass. According to Turftender, new grass roots are fragile and can be easily damaged by pressure.
Warning: Heavy foot traffic on new grass can compact soil and prevent proper root growth, leading to thin or patchy lawns.
Step 5: Mow at the Right Height
Wait until the new grass reaches 3-4 inches before mowing. Set your mower blade to a high setting (around 3 inches) to avoid cutting more than one-third of the grass blade at a time. This encourages stronger roots and healthier growth.
Use a sharp mower blade to prevent tearing the grass, which can lead to disease. Mowing too short can stress the lawn and make it more susceptible to weeds and pests. The Lawn Care Academy recommends the “one-third rule” to maintain lawn health.
- Wait until grass is 3-4 inches tall
- Set mower to 3-inch height
- Never remove more than one-third of the blade
- Mow when grass is dry to avoid clumping
- Sharpen mower blades regularly
Step 6: Monitor for Weeds and Pests
New lawns are vulnerable to weeds and pests, which can compete with grass for nutrients and space. Inspect your lawn regularly for signs of trouble, such as bare spots, discolored grass, or insect activity.
Use a pre-emergent herbicide in early fall to prevent weed seeds from germinating. Avoid post-emergent herbicides until the new grass has been mowed at least 3-4 times, as they can harm young seedlings. For pests, consider organic options like neem oil or beneficial nematodes.
- Pre-Emergent Herbicide: Apply in early fall to stop weeds before they start
- Post-Emergent Herbicide: Wait until grass is established (after 3-4 mowings)
- Organic Pest Control: Neem oil or beneficial nematodes for grubs and insects
- Hand-Pulling Weeds: Effective for small infestations in new lawns
- Soil Testing: Identify nutrient deficiencies that may attract pests
Common Mistakes to Avoid After Seeding and Aeration
Even with the best intentions, it’s easy to make mistakes that can sabotage your lawn’s recovery. Awareness of these pitfalls helps you steer clear and achieve the best results.
One of the most common mistakes is overwatering, which can drown seeds or wash them away. Another is using the wrong type of fertilizer, which can burn new grass or fail to provide the necessary nutrients. Skipping soil testing can also lead to poor results, as you might not address underlying issues like pH imbalance or nutrient deficiencies.
| Mistake | Why It’s Harmful | How to Avoid |
|---|---|---|
| Overwatering | Washes away seeds, causes fungal growth | Water lightly, check soil moisture daily |
| Using Wrong Fertilizer | Burns grass, fails to support growth | Use starter fertilizer with balanced NPK |
| Skipping Soil Test | Misses pH or nutrient deficiencies | Test soil before seeding, amend as needed |
| Mowing Too Soon | Damages tender new grass | Wait until grass is 3-4 inches tall |
| Ignoring Weeds | Weeds compete with grass for nutrients | Apply pre-emergent herbicide, hand-pull weeds |
Avoiding these mistakes ensures your lawn gets the best start and establishes strongly before winter.
Best Practices for Long-Term Lawn Health
Post-seeding care doesn’t end after the first few weeks. Adopting long-term practices ensures your lawn stays healthy, green, and resilient year after year.
Start with regular soil testing, ideally once a year, to monitor pH and nutrient levels. Aerate your lawn annually to prevent compaction and improve water and nutrient absorption. Overseed thin areas in early fall or spring to maintain thickness and crowd out weeds.
- Annual Aeration: Prevents soil compaction and improves root growth
- Regular Overseeding: Fills in bare spots and keeps the lawn thick
- Seasonal Fertilization: Apply fertilizer in fall and spring for optimal growth
- Proper Mowing: Follow the one-third rule and keep blades sharp
- Weed Control: Use pre-emergent herbicides in early spring and fall
- Dethatching: Remove thatch buildup if it exceeds 0.5 inches
- Irrigation System: Install a sprinkler system for consistent watering
Important: According to the National Association of Landscape Professionals, lawns that receive proper post-seeding care can reduce water usage by up to 30% due to stronger root systems.
How to Test Soil and Adjust pH for Optimal Growth
Soil testing is a critical step in ensuring your lawn has the right conditions for growth. The pH level of your soil affects nutrient availability, and most grasses thrive in slightly acidic to neutral soil (pH 6.0-7.5).
Begin by collecting soil samples from different areas of your lawn at a depth of 4-6 inches. Mix the samples in a clean container and send them to a local extension office or use a home testing kit. Once you have the results, adjust the pH as needed.
- pH Below 6.0 (Too Acidic): Apply lime to raise the pH. Follow package instructions for application rates.
- pH Above 7.5 (Too Alkaline): Apply sulfur or aluminum sulfate to lower the pH. Test soil again after 2-3 months.
- Balanced pH (6.0-7.5): No adjustment needed. Focus on maintaining soil health with organic matter.
- Nutrient Deficiencies: Amend soil with compost or specific fertilizers based on test results.
- Organic Matter: Add compost or peat moss to improve soil structure and water retention.
| Soil pH | Grass Type | Recommended Amendment |
|---|---|---|
| Below 6.0 | Cool-Season Grasses (e.g., Kentucky Bluegrass) | Lime |
| 6.0-7.5 | Most Grasses | None (maintain with compost) |
| Above 7.5 | Warm-Season Grasses (e.g., Bermuda, Zoysia) | Sulfur or Aluminum Sulfate |
Adjusting soil pH creates an optimal environment for grass to absorb nutrients and thrive.
When and How to Apply Topsoil or Compost
Applying topsoil or compost after aeration and seeding can improve soil structure, water retention, and nutrient content. This is especially beneficial if your lawn has poor or compacted soil.
Spread a thin layer (about 0.25 inches) of topsoil or compost over the lawn using a broadcast spreader or by hand. Rake it lightly to ensure it fills the aeration holes and makes contact with the seeds. Avoid applying too much, as a thick layer can smother seeds and prevent germination.
- Topsoil: Improves soil depth and drainage
- Compost: Adds organic matter and beneficial microbes
- Peat Moss: Enhances water retention in sandy soils
- Sand: Improves drainage in clay-heavy soils (use sparingly)
Tip: Mix compost into the topsoil before applying for added nutrients and microbial activity.
Seasonal Lawn Care Calendar for Year-Round Success
A consistent lawn care schedule ensures your grass remains healthy through every season. Tailoring your approach to the time of year addresses the specific needs of your lawn.
In spring, focus on pre-emergent weed control and light fertilization. Summer requires deep watering and mowing at higher heights to protect against heat stress. Fall is the best time for aeration, overseeding, and applying starter fertilizer.
Winter care involves minimizing traffic and avoiding heavy fertilization.
| Season | Key Tasks | Tools/Materials |
|---|---|---|
| Spring | Pre-emergent herbicide, light fertilization, mowing | Broadcast spreader, mower, herbicide |
| Summer | Deep watering, mow high, pest control | Sprinkler, mower, pest control products |
| Fall | Aeration, overseeding, starter fertilizer | Aerator, seed spreader, fertilizer |
| Winter | Minimize traffic, avoid heavy fertilization | None (light maintenance) |
Following a seasonal calendar keeps your lawn in peak condition throughout the year.
Frequently Asked Questions
How often should I water my lawn after seeding?
Water lightly every day for the first 2-3 weeks to keep the soil moist. Reduce to every other day as seeds germinate, then switch to deep watering (about 1 inch per week) once the grass is established. Morning is the best time to water to reduce evaporation and fungal risks.
Can I walk on my lawn after seeding and aeration?
Avoid walking on the lawn for at least 4-6 weeks after seeding. New grass roots are fragile and can be easily damaged by foot traffic. If you must walk on it, do so minimally and stick to pathways to prevent soil compaction.
What type of fertilizer is best after seeding?
Use a starter fertilizer with a balanced NPK ratio (e.g., 10-10-10 or 12-12-12). Starter fertilizers are high in phosphorus, which promotes root development. Avoid high-nitrogen fertilizers, as they can burn young grass.
When should I mow after seeding?
Wait until the new grass reaches 3-4 inches tall before mowing. Set your mower blade to a high setting (around 3 inches) and never remove more than one-third of the grass blade at a time. This encourages stronger roots and healthier growth.
How do I know if my lawn needs aeration?
Signs your lawn needs aeration include thin or patchy grass, water pooling on the surface, and soil compaction (hard to push a screwdriver into). Aeration is especially important for lawns with heavy clay soil or high foot traffic. Aim to aerate at least once a year, preferably in fall.
Final Thoughts
Treating your lawn properly after fall seeding and aeration sets the stage for a lush, healthy lawn next spring. Focus on consistent watering, protecting new grass from traffic, and using the right fertilizer to support root growth. Avoid common mistakes like overwatering or mowing too soon, and your lawn will reward you with thick, green growth.
With the right care and attention, your lawn can become the envy of the neighborhood.