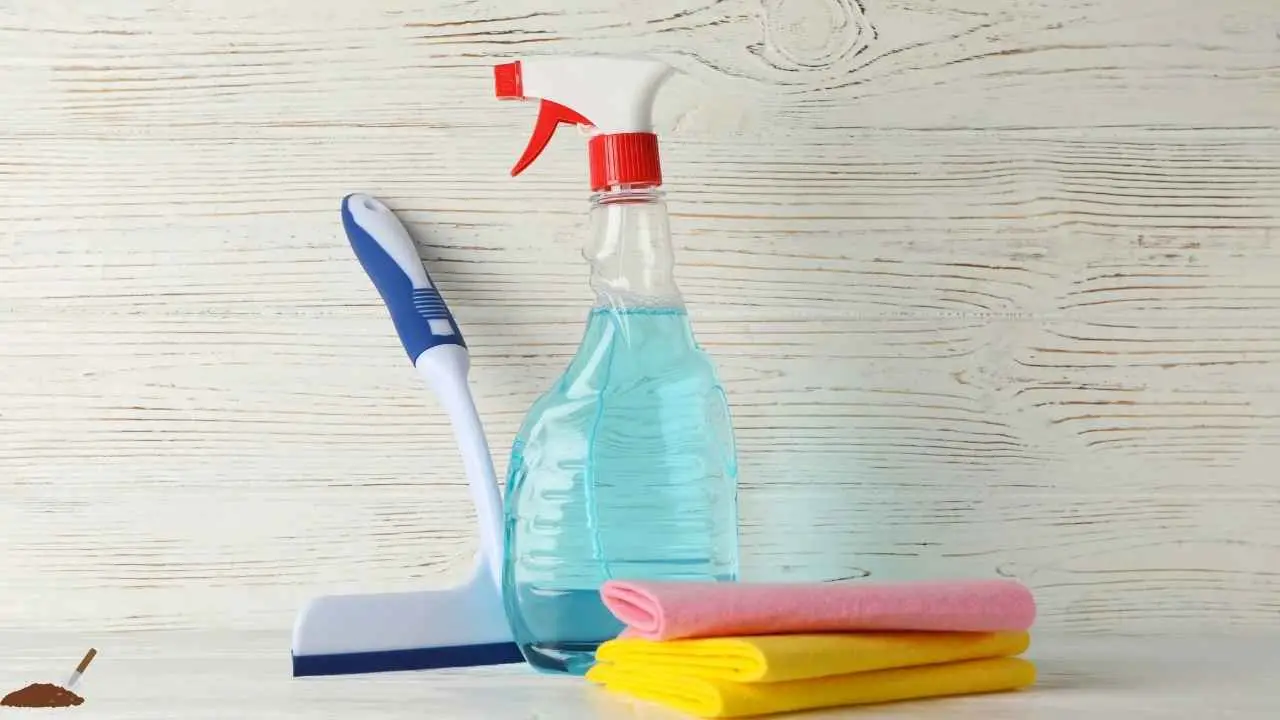
A garden sprayer is essential for maintaining a healthy and thriving garden. Whether you’re applying fertilizers, pesticides, or herbicides, keeping your sprayer clean ensures it operates effectively and prevents chemical cross-contamination. Below, we answer the most frequently asked questions about cleaning a garden sprayer to help you maintain this vital gardening tool.
Why Is It Important to Clean a Garden Sprayer?
Keeping your garden sprayer clean is crucial for several reasons:
- Prevent Cross-Contamination: Residual chemicals can mix, potentially harming plants or creating dangerous reactions.
- Prolong Equipment Lifespan: Regular cleaning prevents buildup and corrosion, keeping your sprayer in good working condition.
- Ensure Accurate Application: A clean sprayer delivers the correct amount of liquid, ensuring the effectiveness of your applications.
Tip: Cleaning is especially important after using herbicides or chemicals with strong active ingredients.
How Often Should I Clean My Garden Sprayer?
- After Each Use: Clean your sprayer thoroughly after every use to remove residues and prevent clogging.
- Deep Clean Periodically: Perform a more thorough cleaning at least once a month or after using particularly viscous or corrosive chemicals.
Actionable Solution: Set a routine to clean your sprayer immediately after use to avoid the hassle of dried chemical residues.
What Materials Do I Need to Clean a Garden Sprayer?
Before cleaning your sprayer, gather the following:
- Dish soap or a mild detergent.
- White vinegar or ammonia (depending on the chemicals used).
- A bucket of clean water.
- A scrub brush or an old toothbrush.
- Safety gloves and goggles.
Safety Note: Always wear protective gear to avoid contact with any residual chemicals.
What Are the Steps to Clean a Garden Sprayer?
Follow these steps for effective cleaning:
Step 1: Empty the Sprayer
- Release any leftover liquid in the sprayer and ensure it is disposed of safely according to the chemical’s label instructions.
Step 2: Rinse with Clean Water
- Fill the tank halfway with clean water, close it, and shake it vigorously.
- Spray the water through the nozzle to flush out the hose and wand.
Step 3: Use a Cleaning Solution
- Mix a warm water and dish soap solution, or use white vinegar to neutralize acidic residues.
- Fill the tank, shake it well, and spray the solution through the nozzle.
Step 4: Scrub the Components
- Disassemble the sprayer, including the nozzle and wand, and scrub each part with a brush.
- Pay attention to small openings to remove clogs or residue.
Step 5: Final Rinse
- Rinse the tank, nozzle, and other components thoroughly with clean water.
- Allow all parts to air dry before reassembling.
How Do I Remove Stubborn Residues or Clogs?
For tough residues or clogs:
- Soak the Nozzle and Wand: Submerge these parts in a vinegar-water solution for 30 minutes to dissolve buildup.
- Use a Thin Wire or Needle: Carefully remove debris from the nozzle’s tiny openings without enlarging the holes.
- Apply Pressure: Spray clean water at high pressure to dislodge any remaining clogs.
Pro Tip: Avoid harsh chemicals that could damage the sprayer’s plastic or metal components.
Can I Use Household Products for Cleaning?
Yes! Common household items that are effective and safe for cleaning garden sprayers:
- Dish Soap: Breaks down grease and residues.
- White Vinegar: Neutralizes acidic residues.
- Ammonia: Neutralizes alkaline chemicals like herbicides.
Caution: Never mix vinegar and ammonia, which creates a harmful gas.
How Do I Store a Clean Garden Sprayer?
Proper storage is just as important as cleaning:
- Dry Thoroughly: Ensure all parts are completely dry to prevent mould and rust.
- Store Indoors: Keep the sprayer in a cool, dry place away from direct sunlight.
- Disassemble: Store the nozzle and wand separately to avoid damage.
Quick Tip: Always release pressure from the sprayer before storing it.
How Do I Clean a Sprayer After Using Herbicides?
Herbicides can leave potent residues, so follow these additional steps:
- Use an ammonia-based cleaner to neutralize the herbicide.
- Rinse multiple times to ensure no trace of herbicide remains.
- Spray clean water through the system until it runs clear.
Important: Residual herbicides can harm non-target plants if not properly removed.
What Should I Do If My Sprayer’s Pump Stops Working?
A dirty or clogged pump is a common issue:
- Check for Clogs: Disassemble the pump and inspect for debris.
- Lubricate the Seals: Use a silicone-based lubricant to ensure smooth operation.
- Deep Clean: Flush the pump system with soapy water or vinegar solution.
Preventative Maintenance: Regular cleaning prevents pump failure and extends its lifespan.
Can Cleaning Improve the Longevity of My Sprayer?
Absolutely! Regular cleaning reduces wear and tear, prevents chemical damage, and ensures all parts function properly. A well-maintained sprayer can last for years with minimal issues.
What Are Some Common Mistakes to Avoid When Cleaning a Garden Sprayer?
- Skipping Cleaning After Use: Residual chemicals can harden, making cleaning more difficult.
- Using Harsh Chemicals: These can damage the sprayer’s components.
- Improper Storage: Storing a wet sprayer can lead to mould or rust.
Best Practice: Follow the manufacturer’s instructions for cleaning and maintenance.
Conclusion
Cleaning a garden sprayer is straightforward but essential to ensure efficiency and longevity. Following these steps and tips, you can maintain your sprayer in top condition and avoid common pitfalls. Whether you’re a seasoned gardener or just starting out, regular cleaning will save you time, money, and frustration in the long run.


